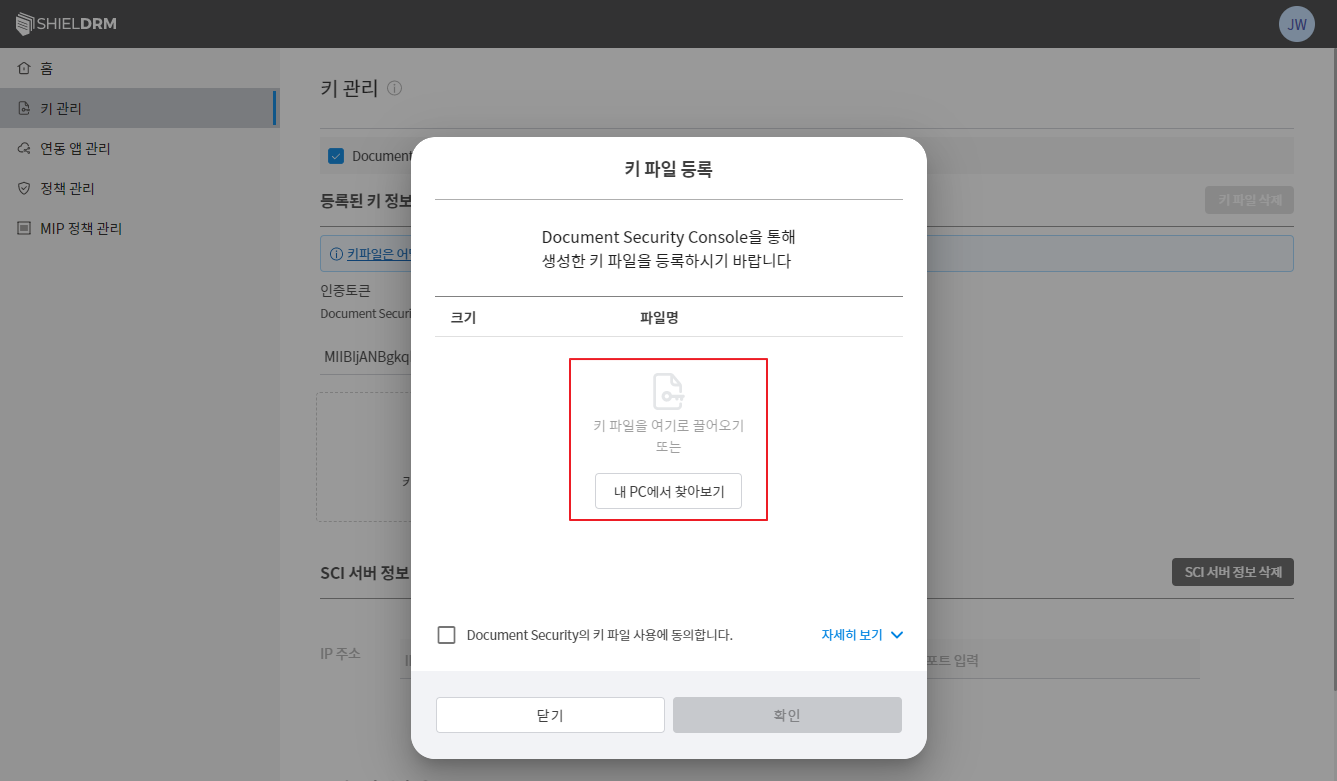
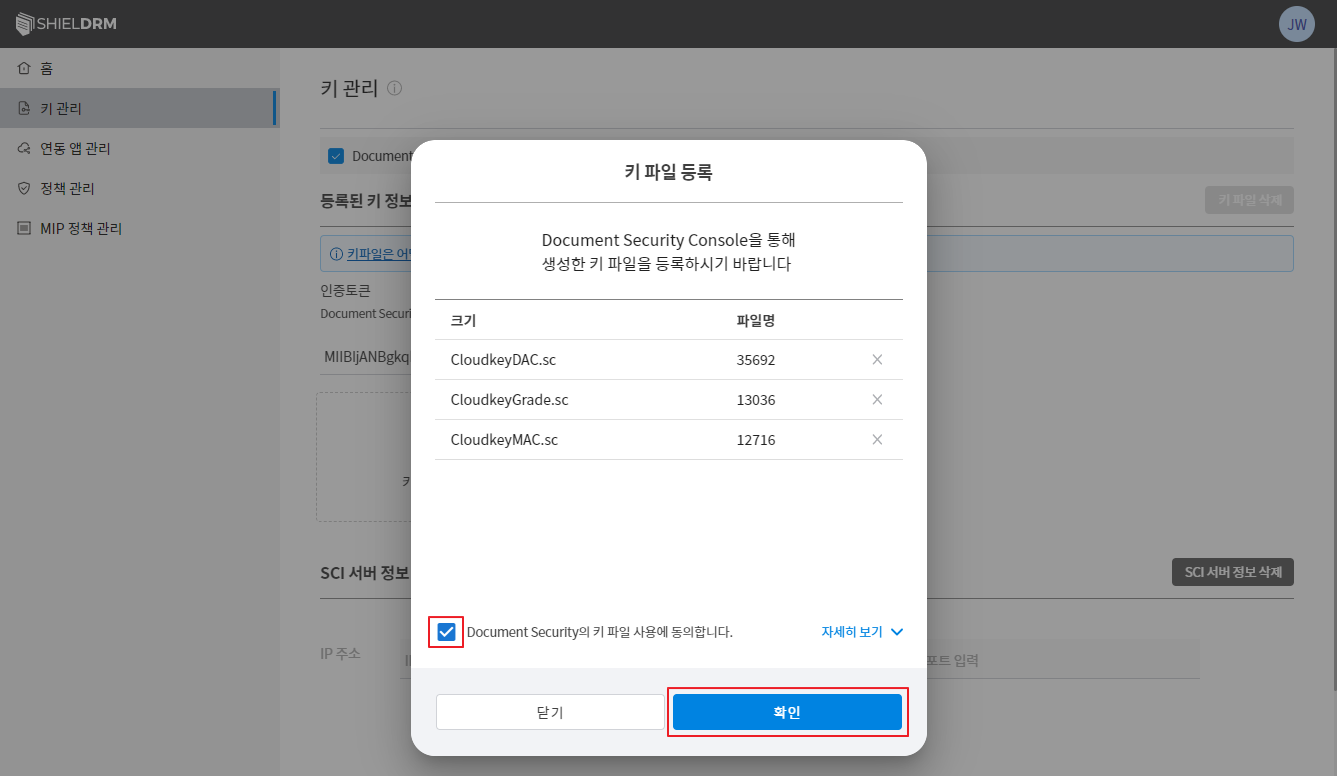
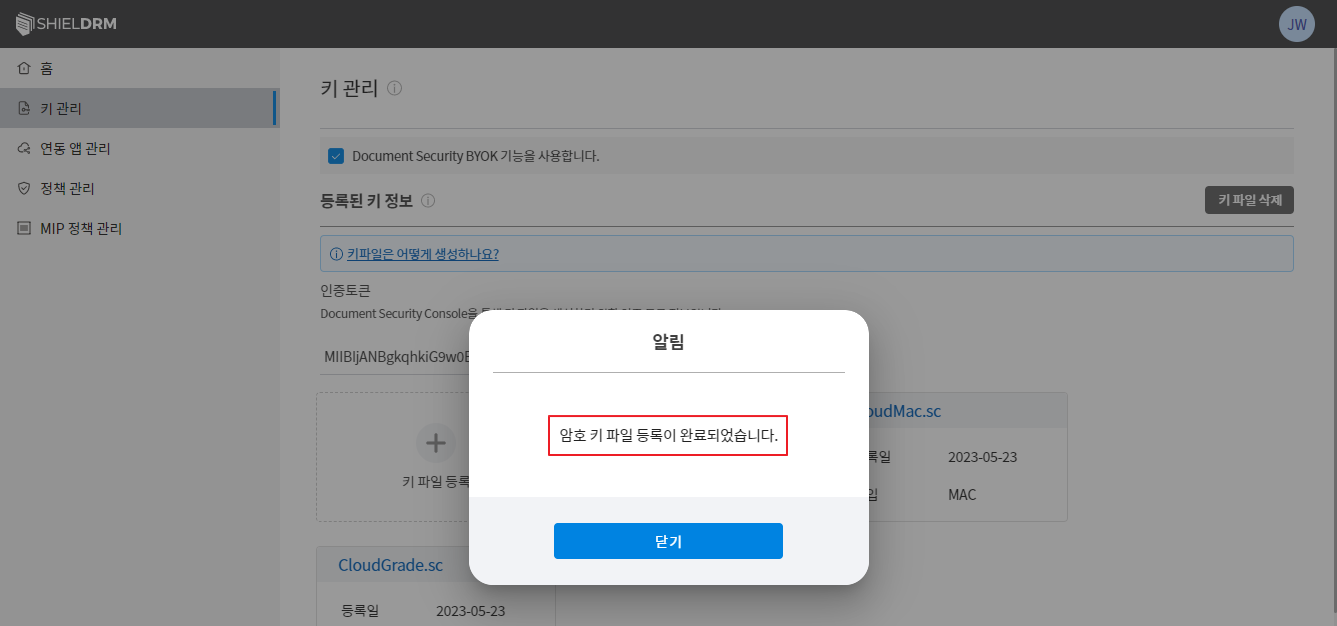
2) Key Management - Key File Upload
Used when the Security365 service cannot connect to the SCI server (closed network).
Description
- Available after company and administrator registration is completed on the Security365 portal.
- Generate a securely encrypted key file using the RSA method with the CS console and upload it to the Security365 service.
- Since key data is not automatically updated, it is necessary to manually upload the key file each time there is a change in personnel information.
SHIELDRM Admin Web Console
Company Administrator Account Login
- Accessing the SHIELDRM Admin Web Console in the Security365 Management Center
- Login with the administrator account of the registered company
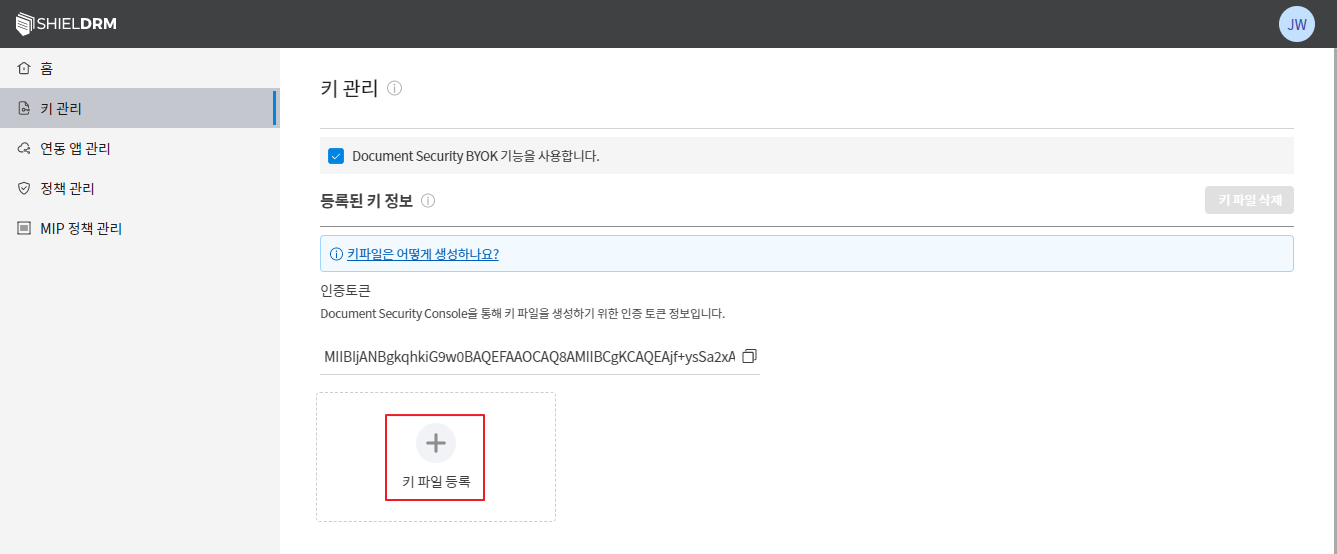
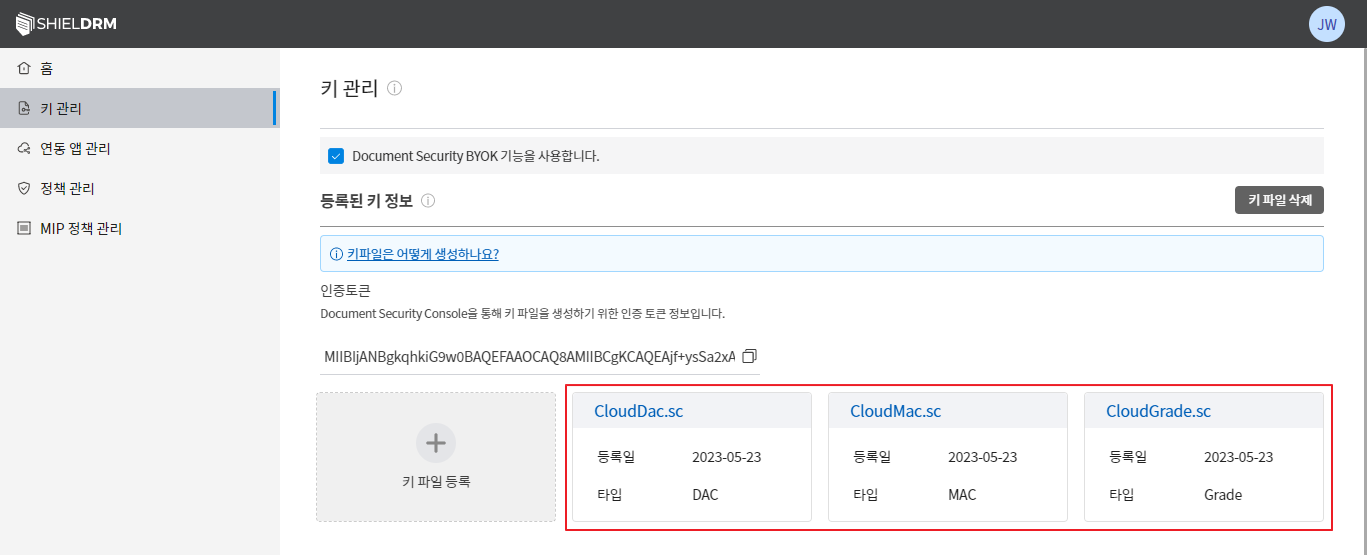
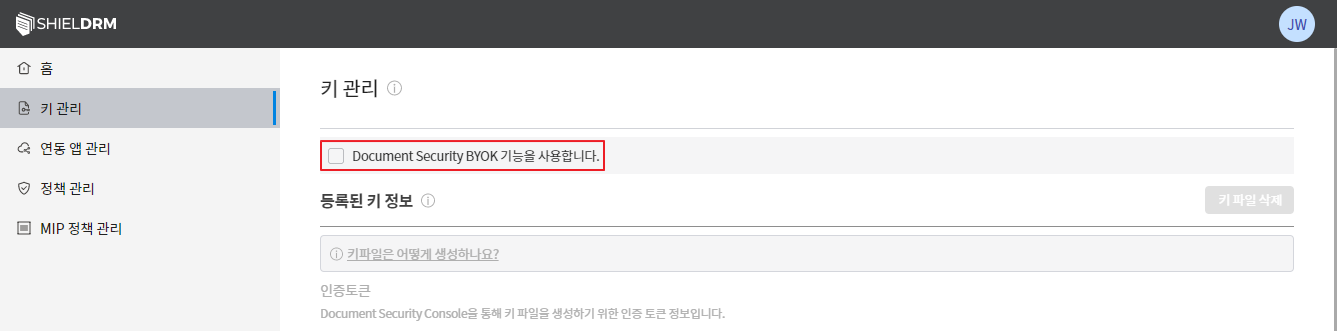
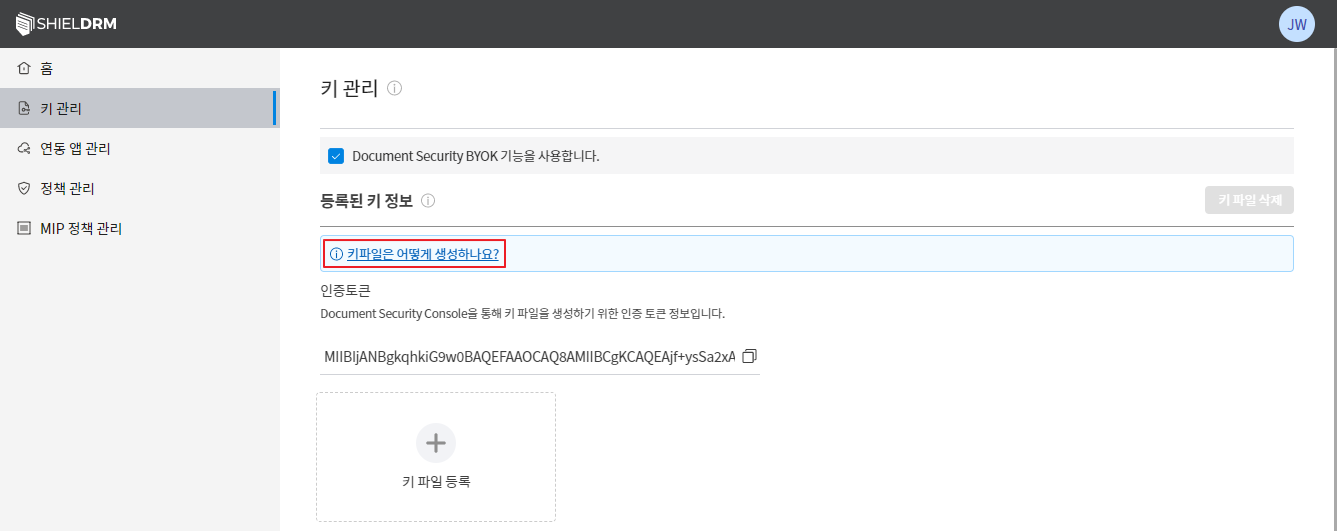
Key Management Menu
- Check BYOK Feature
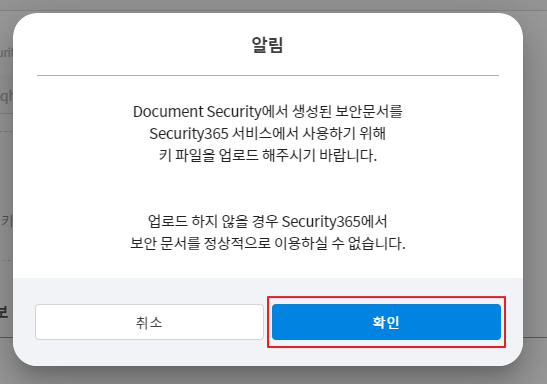
- Click the "Confirm" button after checking the notification content.
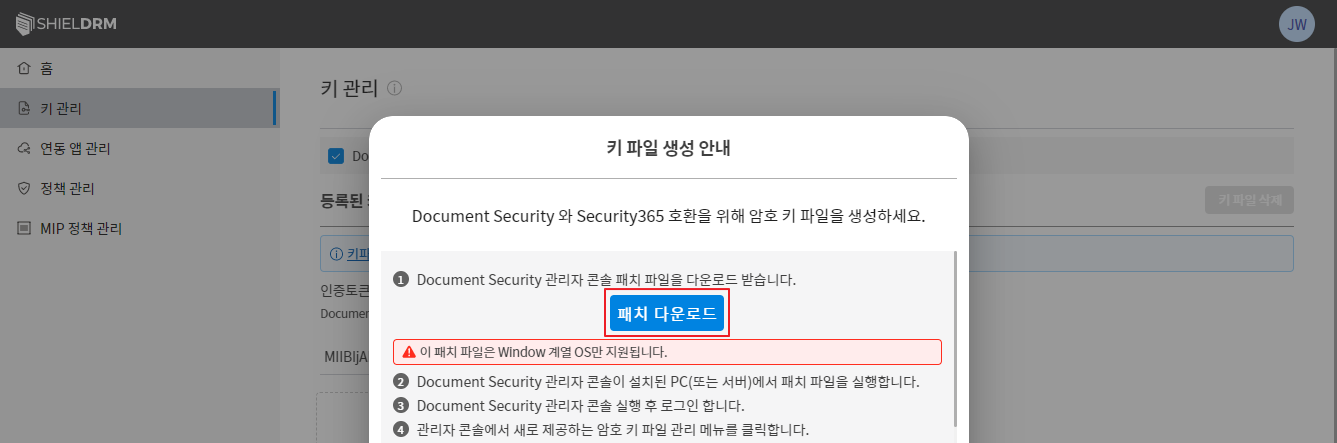
- Key File Creation Guide Check
- Download and Install CS Console Patch File
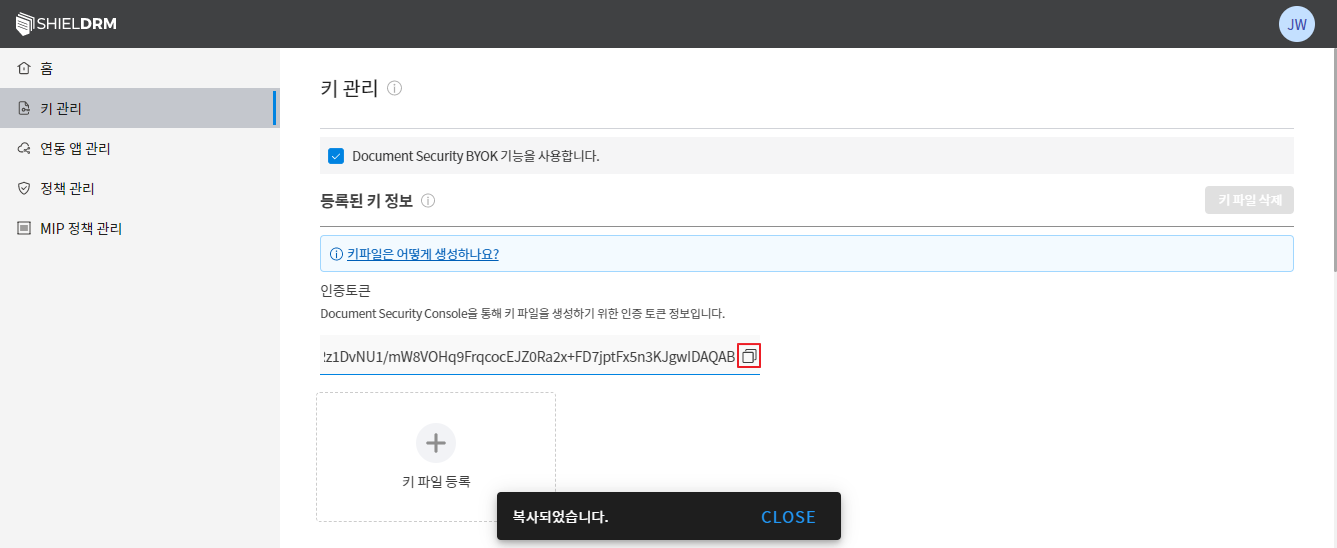
- Copying the authentication token
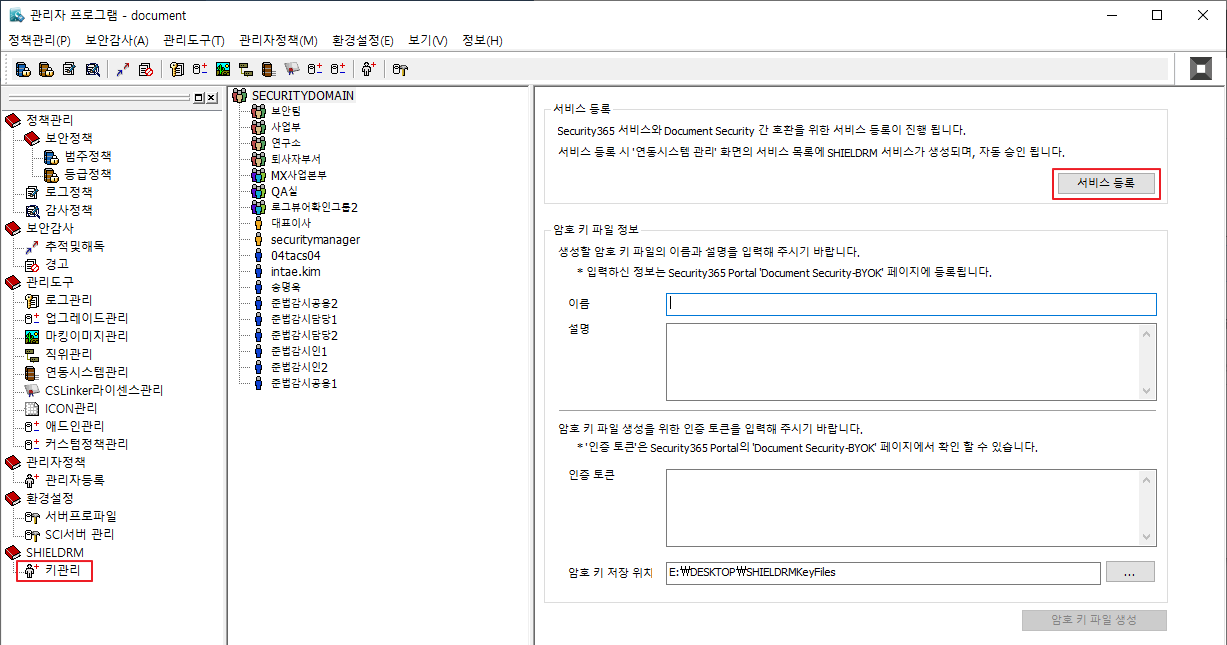
SCI Server CS Console
CS Console's Super Administrator Login
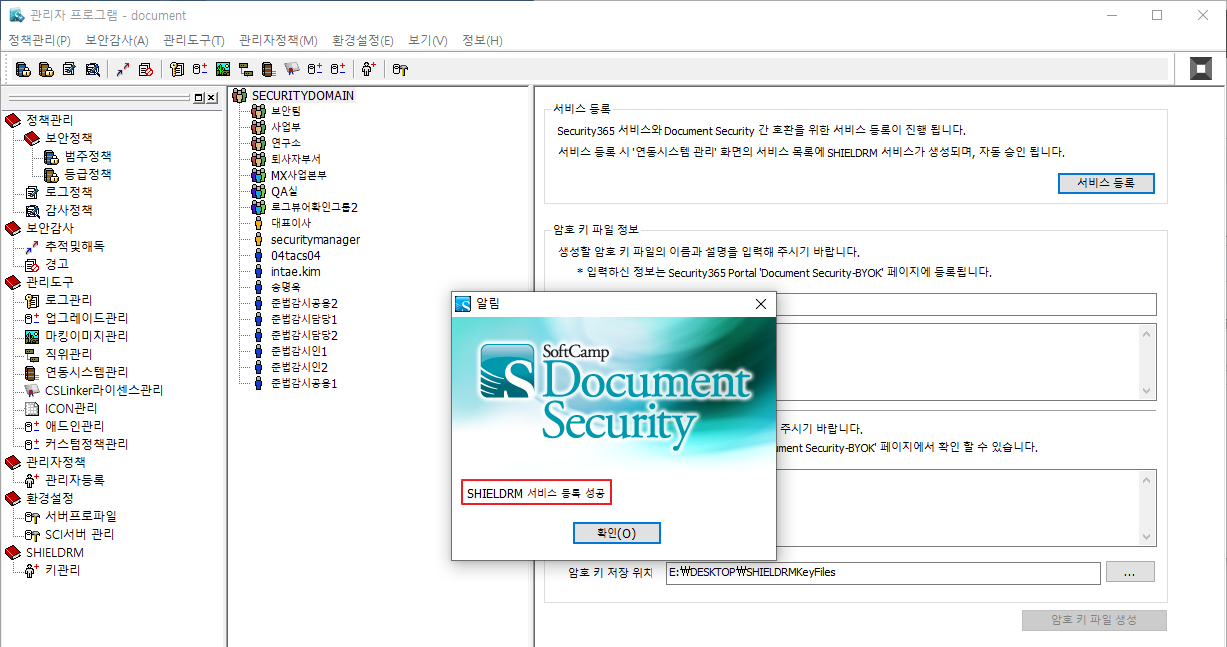
- Click the service registration button in the SHIELDRM key management menu.
- Check the successful registration message for the SHIELDRM service
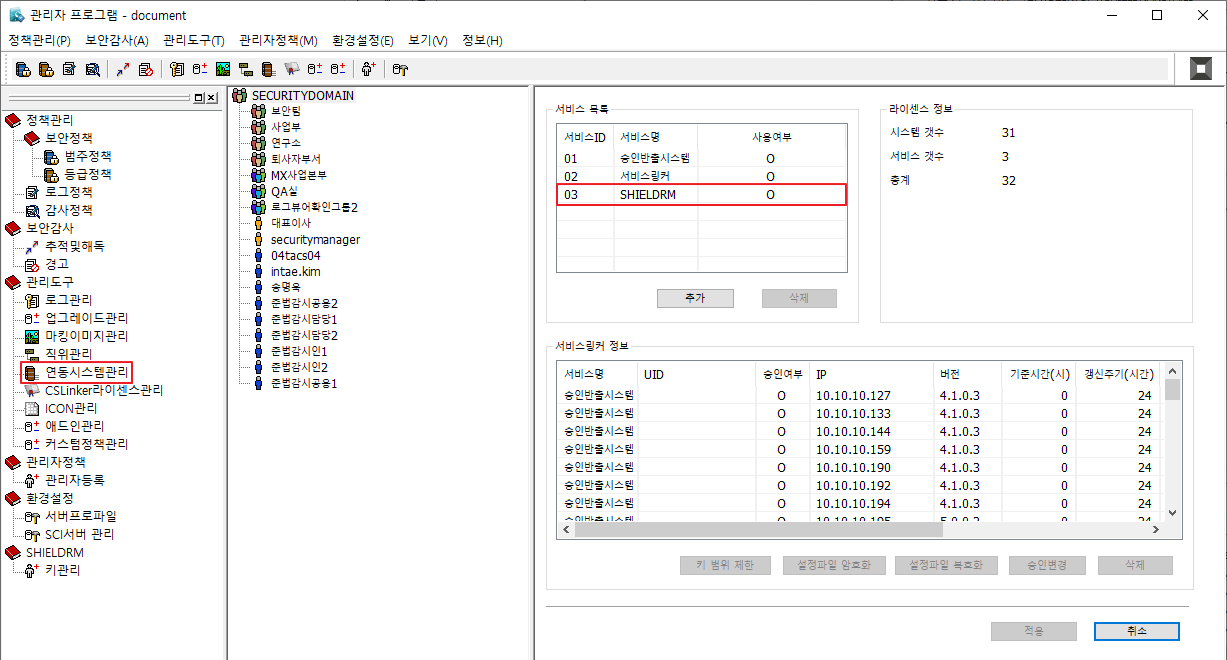
- Check registered services in the integration system management menu
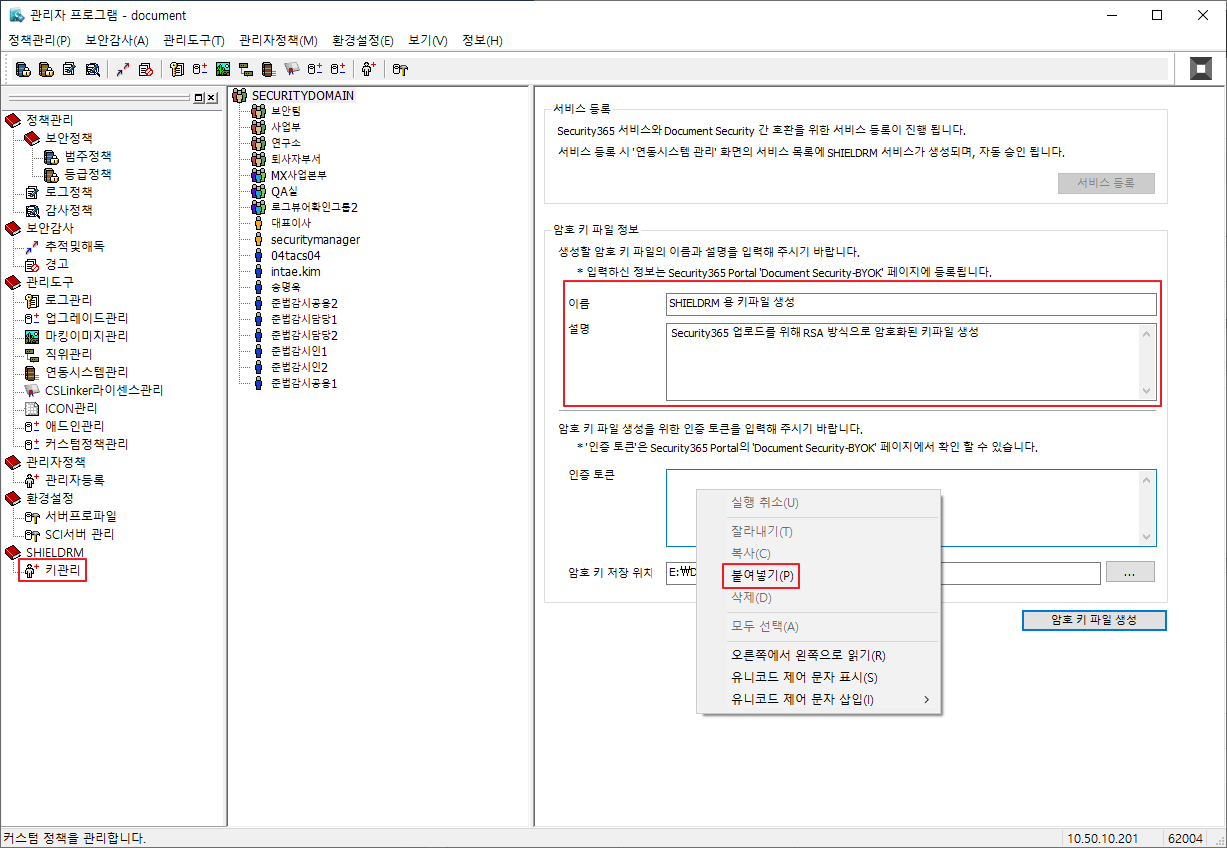
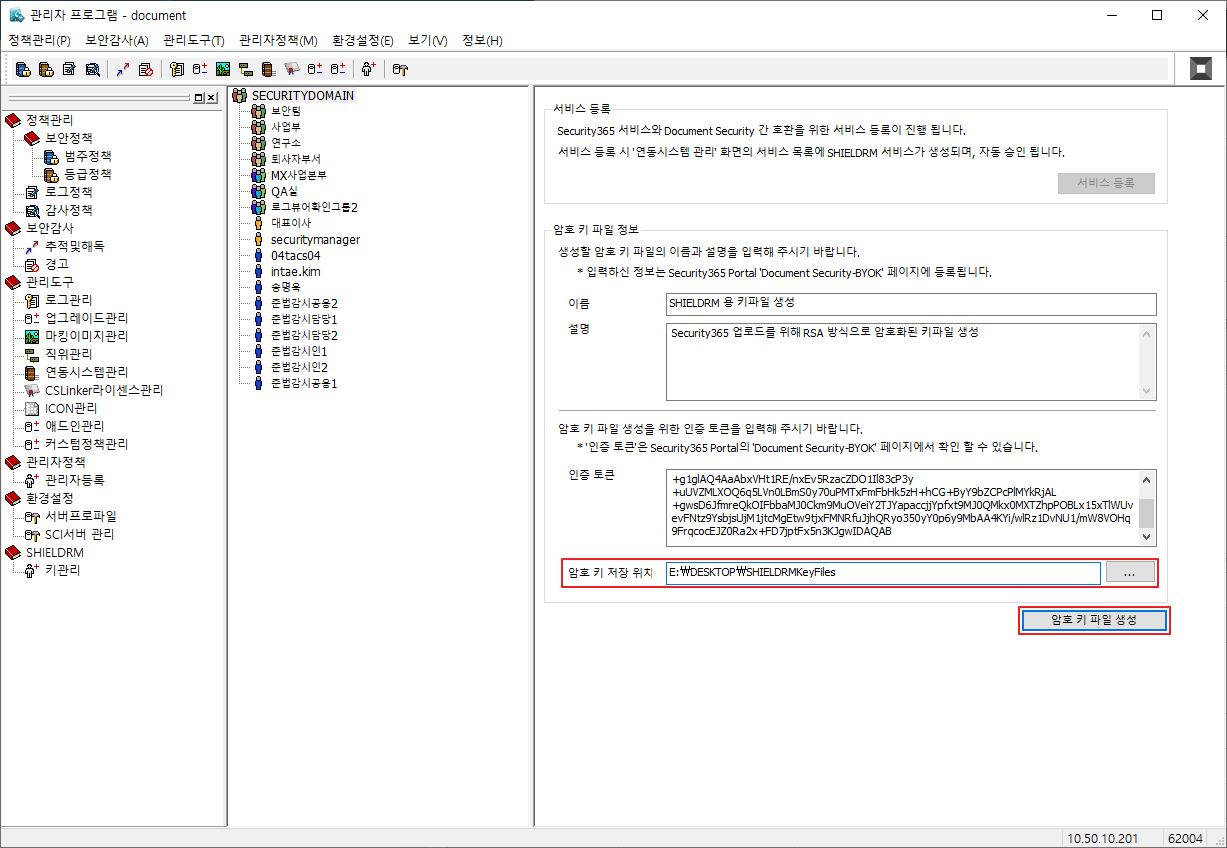
- After entering the name/description in the key management menu, paste the authentication token copied from the SHIELDRM key management page.
- Check Save Location and Create Encryption Key File

SHIELDRM Admin Web Console
Key Management Menu
- Add the generated key file after clicking "Register Key File"